
Last updated November 15, 2026
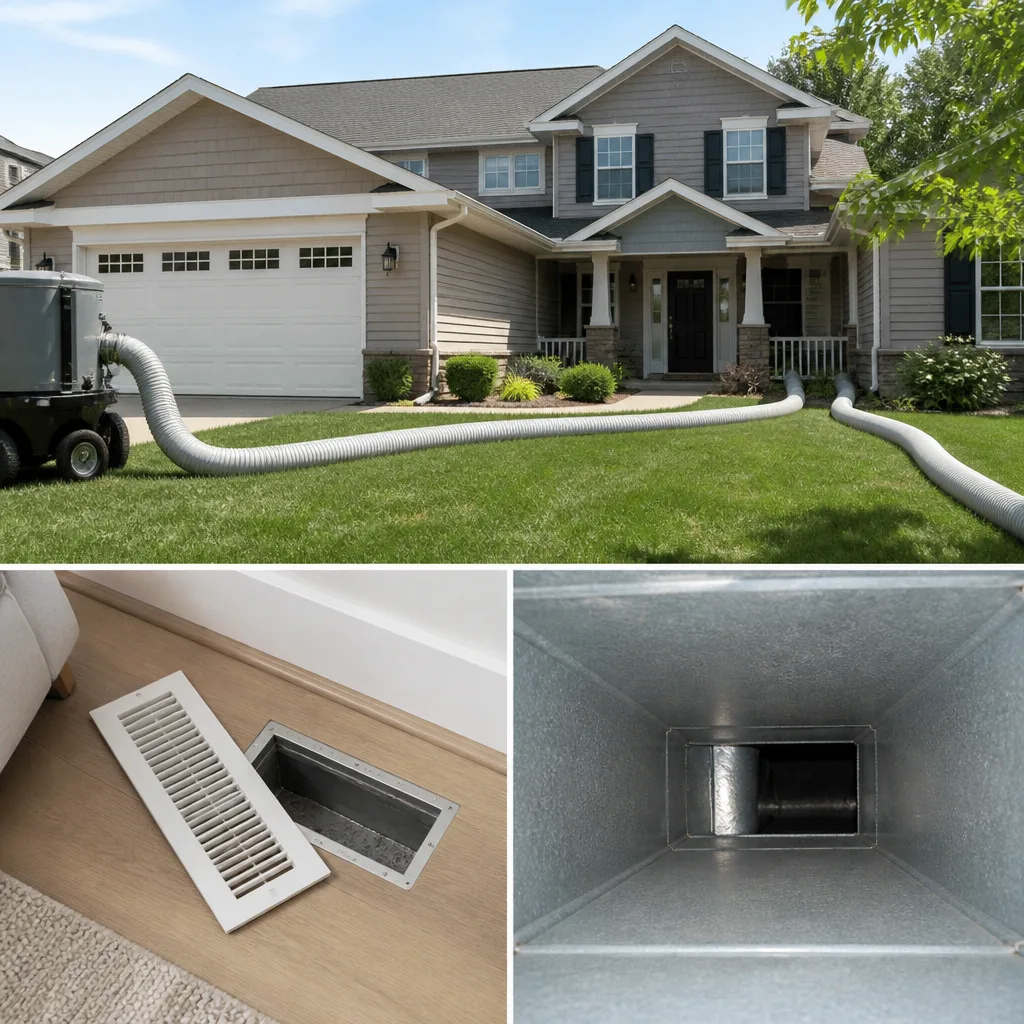 Whole-home duct cleaning
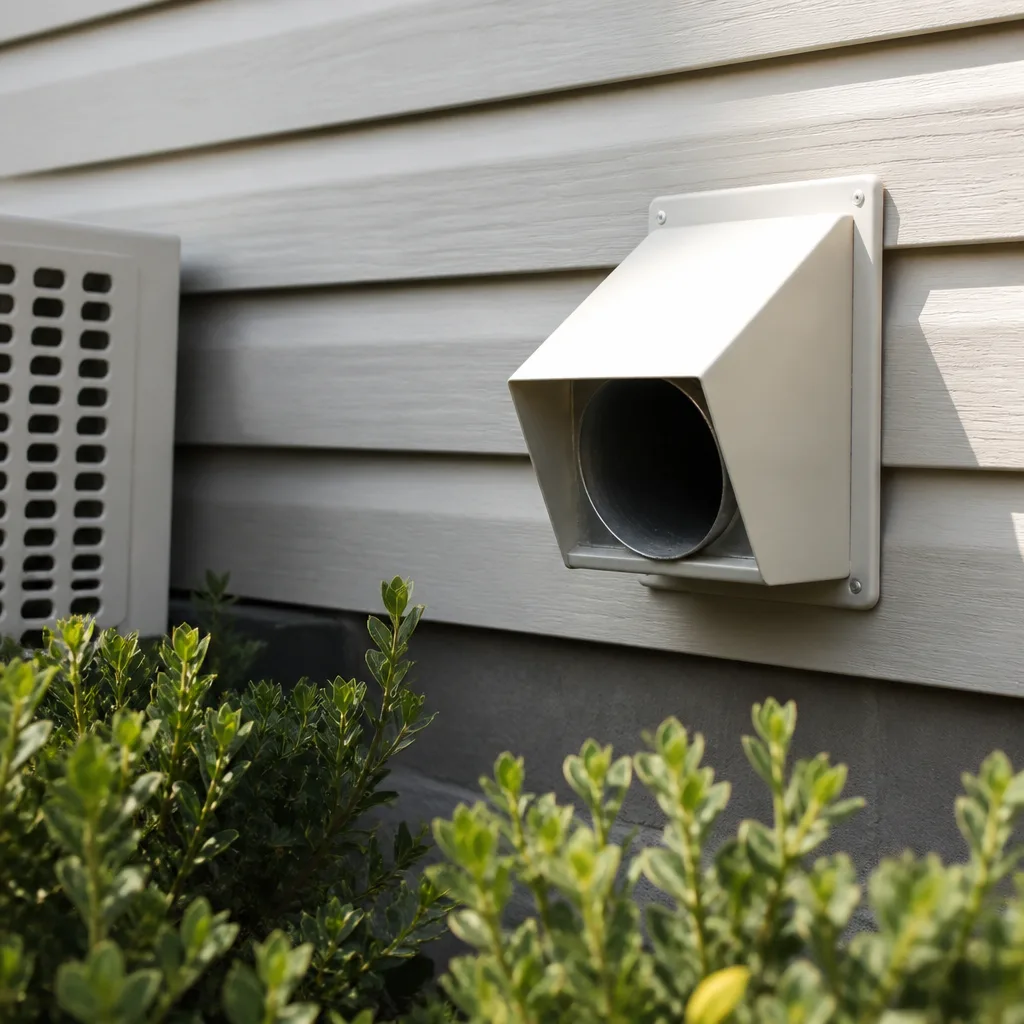 Dryer vent cleaning
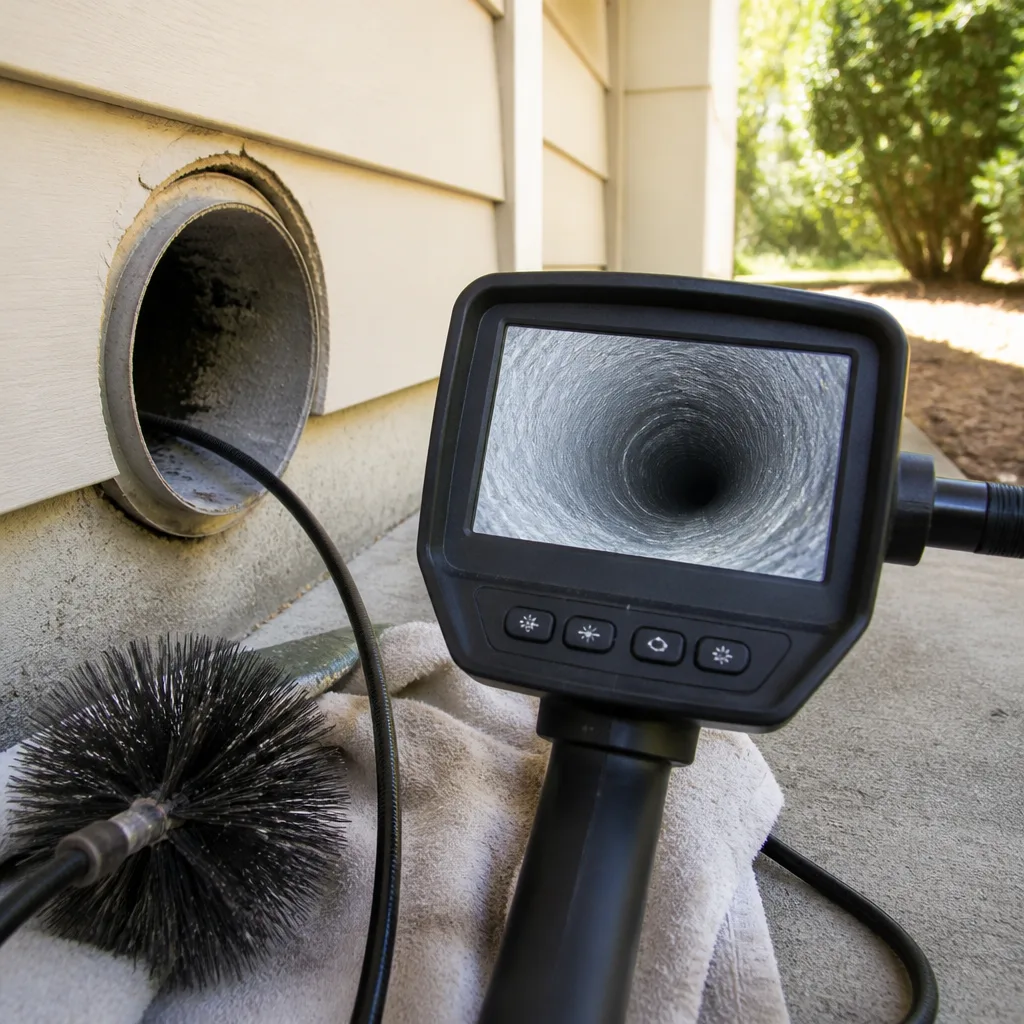 Camera inspection
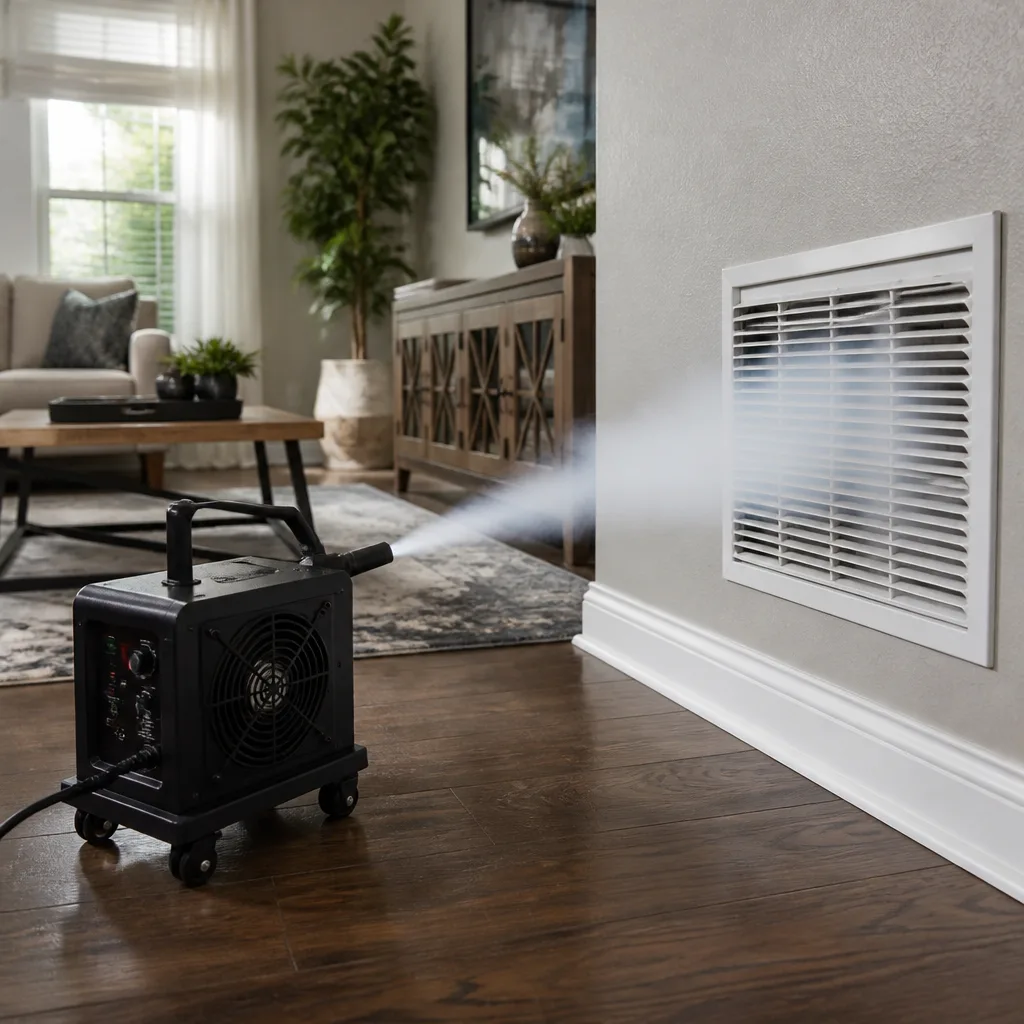 Sanitizing & deodorizing
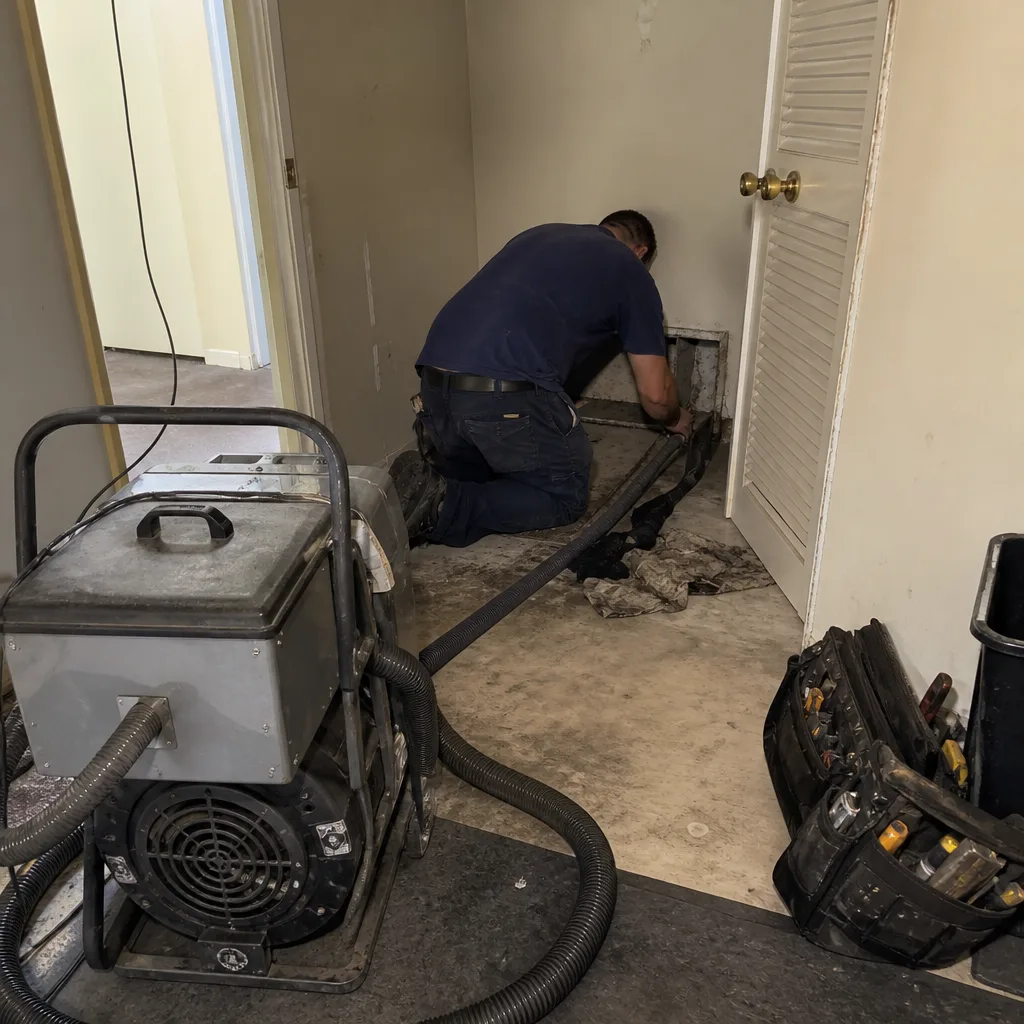
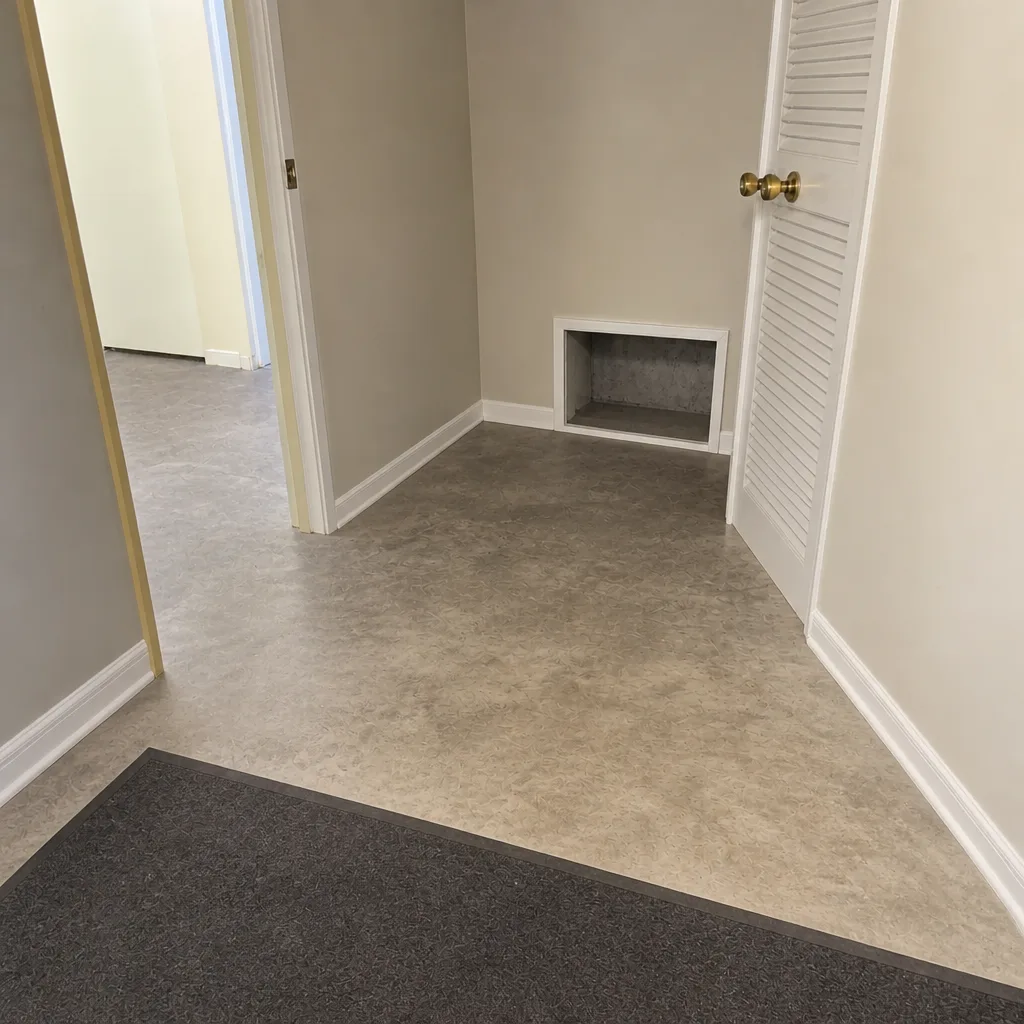
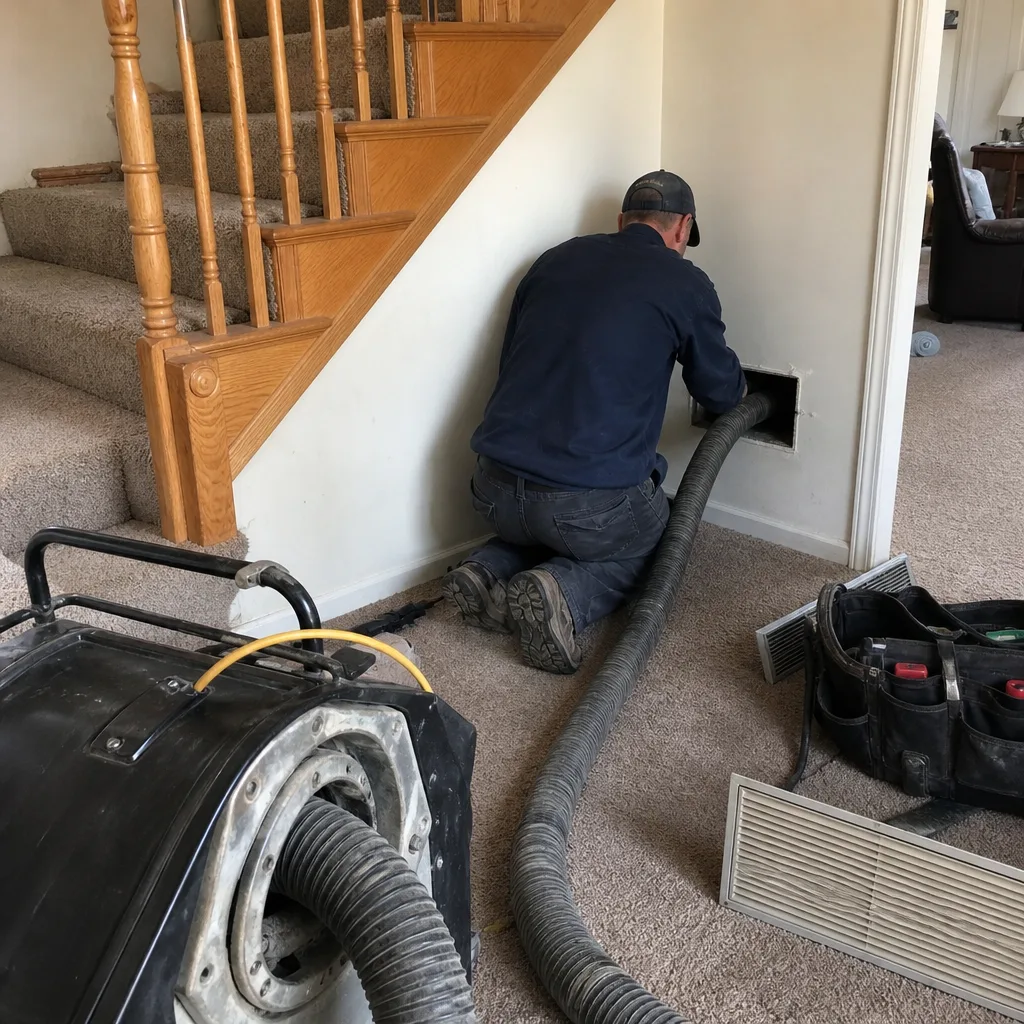
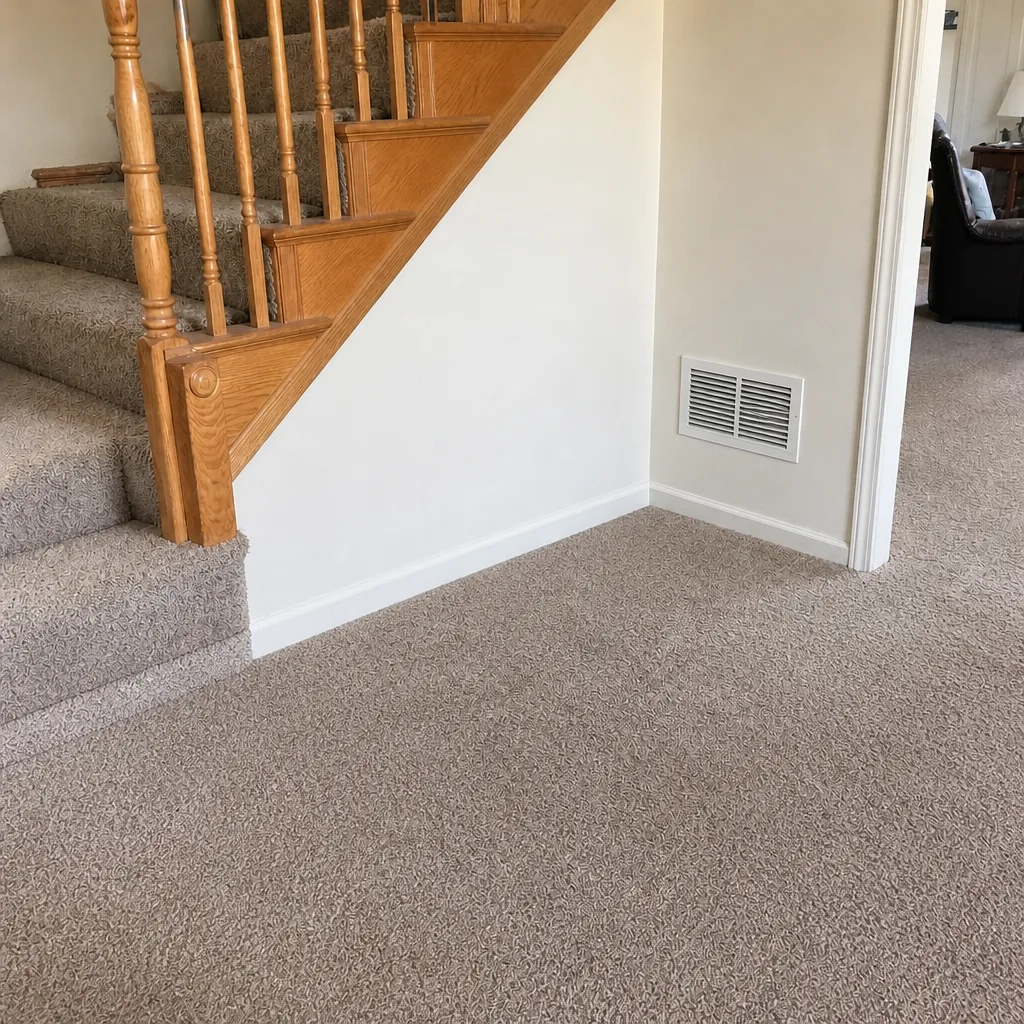
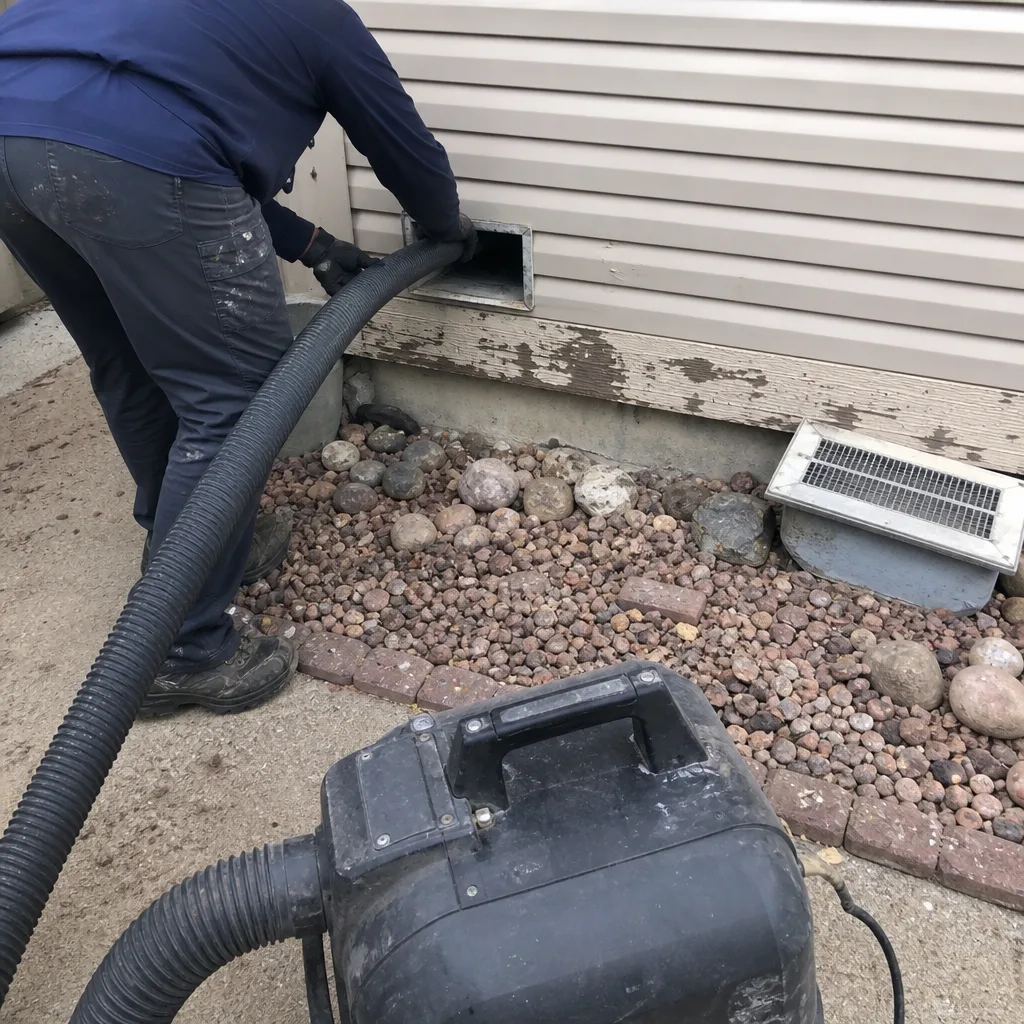
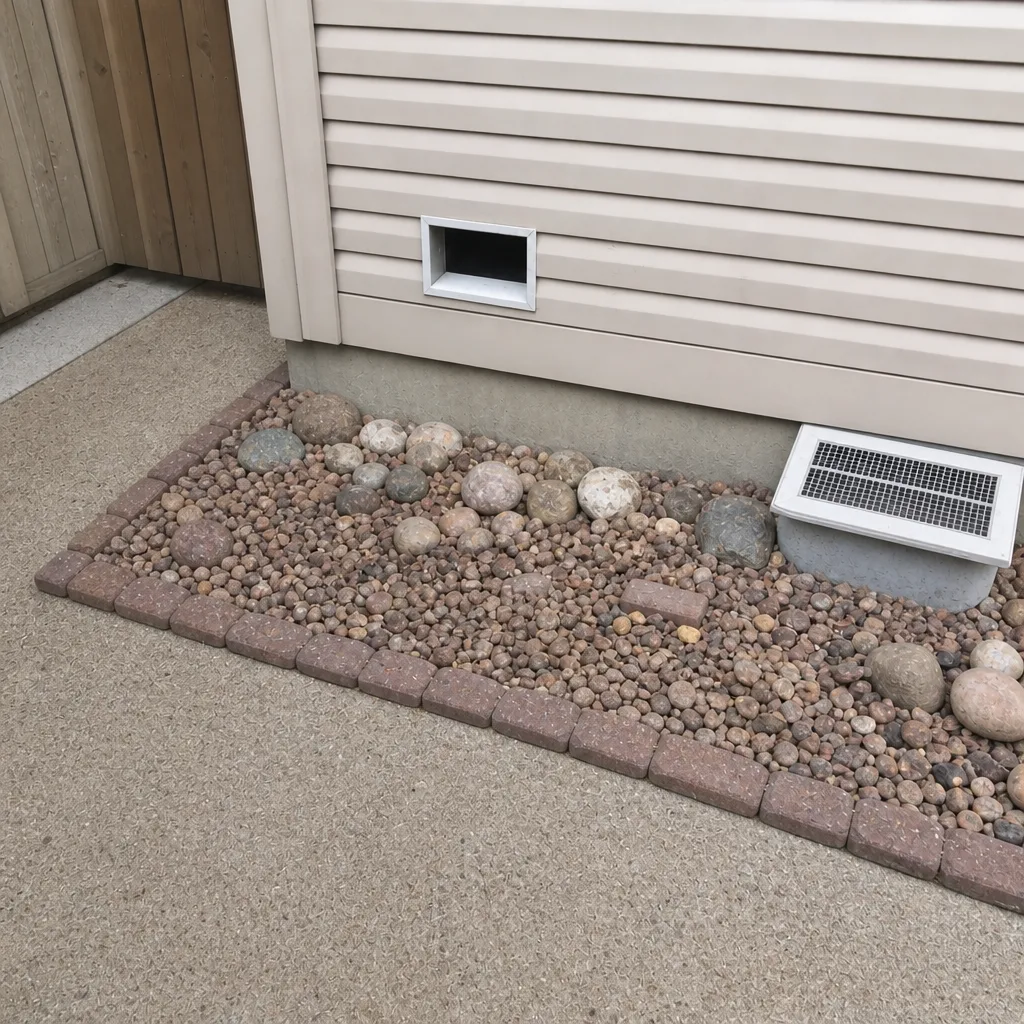
Whole-system duct and dryer vent check with before-and-after photos - you see exactly what came out of your vents
That "$99 whole-house special" is a bait ad - the real number appears once they are in your hallway, or the "clean" is a shop-vac at the register. We photograph the inside of your ducts before and after instead.
Air Duct Cleaning Maintenance Checklist for Colorado Springs Homeowners
The filter you changed last fall may have done its job on dust and still let wildfire smoke straight through to the inside of your supply plenum. Most checklists don’t tell you how to look for that. They stop at “change your filter every 90 days” and call it maintenance. In Colorado Springs, that’s only a fraction of the work. We’ve watched homeowners stay on top of filters for years and still end up with dust-streaked registers, sagging flex duct, and a return grille that’s never been looked at. This guide gives you a structured, month-by-month calendar built around how the air actually moves through a home on the Front Range: heating startup, the dry spring wind season, wildfire smoke events in El Paso County, and the cold snap that kicks the furnace back on. You’ll learn what you can check yourself without tools, what to document so a technician isn’t starting from zero each visit, and which filter ratings fit the airflow limits of the ductwork in most of this city’s older homes.
Quick Answer
A workable air duct maintenance checklist for Colorado Springs runs on a seasonal cycle rather than a fixed date: inspect registers and filter monthly, replace the filter every 60 to 90 days (more often after a smoke event), check flex duct connections and the return grille each spring and fall, and schedule a professional whole-system cleaning every three to five years, or sooner if you’ve had renovation dust, a pest issue, or visible debris at the registers. Document what you see each time so deterioration can be tracked instead of guessed at. Professionals like Flagship Air Duct Cleaning use professional-grade equipment rather than shop vacs, and can repair damage found during the cleaning.
Styles & brands we work with
- Whole-home duct cleaning
- Dryer vent cleaning
- Camera inspection
- Sanitizing & deodorizing
Table of Contents
- The Colorado Springs Air Duct Maintenance Calendar
- What You Can Inspect Yourself Without Tools
- How to Document Duct Condition Over Time
- The Post-Wildfire-Smoke Check for El Paso County
- Choosing a MERV Rating That Fits Your Duct System
- The Dryer Vent Is Part of the Same Checklist
- What Deterioration Looks Like and When It Needs Repair
- Common Mistakes to Avoid
- When to Call a Professional
The Colorado Springs Air Duct Maintenance Calendar
Colorado Springs doesn’t run on four neat seasons. It runs on a long dry winter, a windy spring that pushes grit through every seam in a house, a summer that swings between monsoon moisture and smoke from fires west of the city, and a fall that’s really just heating-season startup with cold nights. Your duct maintenance should follow that rhythm, not a generic quarterly reminder.
Here’s how we’d frame a 12-month cycle for a typical Colorado Springs home:
- January – Deep winter check. Listen at the furnace closet for whistling or a rattle that wasn’t there in the fall. Those sounds often mean a return duct is starved for air because of a dirty filter or a collapsed flex section. Replace the filter if it’s loaded.
- February – Register sweep. Pull every supply register cover and look inside with a flashlight. Note streaks of dust or debris clinging to the boot, and photograph anything unusual. Cold, dry air plus heavy furnace run time pushes more dust than most people expect.
- March – Wind season inspection. The spring winds off the mountains are unforgiving. Check the return grille for fine grit and look at exterior duct chases and connections at the furnace. Loose seams let in dust and attic air.
- April – Filter and fan check. Vacuum the return grille face. Confirm the blower is moving air freely (an abnormal sound or weak airflow at registers is the clue, not a tool you need).
- May – Pre-summer walkthrough. Look at flex duct connections in the basement or crawlspace for kinks, sagging, or disconnection. Flexible duct that droops or bends sharply chokes airflow.
- June – Smoke readiness. Note the date you last changed the filter, since you’ll want a fresh baseline before fire season. Stock the correct filter size.
- July and August – Post-event checks. After any smoke event in El Paso County, follow the check in the section below. Replace the filter once smoke clears.
- September – Heating startup. Swap in a fresh filter, run the system, and smell the first cycle of warm air. A musty or burned-dust smell is a signal to inspect further.
- October – Full visual inspection. This is the best month for a whole-system check, since the system is about to work hard for six months straight.
- November – Return air path. Check every return grille in the house, not just the big one near the furnace. A blocked return pulls dust from gaps and gaps in the wall cavity.
- December – Professional interval. If you’re three to five years out from your last professional cleaning, or you’ve had renovation dust or a pest issue this year, now is the time to schedule.
On top of the monthly-to-seasonal cycle, a whole-system professional cleaning fits best every three to five years for most Colorado Springs homes. Homes near heavier dust sources, recent remodels, or that have gone through a smoke event may need it more often. That’s a job for the right equipment. Our technicians have up to 9 years of experience and work with professional-grade systems such as Rotobrush and Nikro, which reach into the trunk lines and branch runs in a way a portable vacuum can’t.
What You Can Inspect Yourself Without Tools
You don’t need a moisture meter or a camera to catch most early duct problems. Three places in a Colorado Springs home show more about duct health than any tool. Here’s what to look for at each one.
- At the supply registers. Remove the grille (most pop off or have two screws). Shine a flashlight into the boot. A thin, even dust film is normal. Thick deposits, dark streaking, or visible debris like drywall dust, insulation fibers, or pest droppings mean the duct needs attention. Look at the edges of the grille itself too, since dust settling on the vanes usually points to dust that’s already moving through.
- At flex duct connections. In a basement, crawlspace, or attic, find where flexible duct meets rigid pipe or a plenum. Check that the inner liner is intact and the connection is sealed with tape or mastic, not just a loose joint. Kinked, sagging, or disconnected flex duct shows up as weak airflow at the far end of the house and as extra dust pulled in near the break.
- At the return grille. This is the single most overlooked part of the system. The return pulls air back to the furnace, and if the grille or the cavity behind it is dirty, every cycle pushes that material back into the supply side. Look at the grille face and the filter slot. If the grille is coated, or the filter doesn’t seat fully, air bypasses the filter and dust moves straight through.
What you can’t see without equipment is the inside of the plenum, the trunk lines, and the deeper branch runs. That’s the space professional-grade equipment is built to reach. A flashlight check at the register is a good early warning, not a substitute for a proper inspection. If you see something that worries you, our air duct cleaning team can look at the system as a whole.
How to Document Duct Condition Over Time
Most homeowners start from scratch with every contractor visit: a technician walks in, looks, and gives you a version of what the last one said. That’s avoidable. A simple record you keep turns each visit into a comparison, and it helps the technician separate a one-time dust event from a slow trend that points to damage.
Keep a single notes doc or a small notebook with these entries:
- Date and filter change. Write down the size you installed and the MERV rating. You’ll see at a glance how often you’re actually replacing it.
- Photographs at the same spots. Pick two or three registers and photograph inside the boot each time, from the same angle. Consistency is what makes comparison possible. A before-and-after at your own register also gives you photos of your own ducts, which is the standard our team holds itself to.
- Post-event notes. After a smoke event, a remodel, or pest activity, jot a line. The check you run afterward is the one most likely to catch a problem early.
- Observations at the furnace. Note any new noise, smell, or weak-airflow complaint, with the date. Patterns matter more than single observations.
- What previous service found and fixed. Write down any repair a technician recommended or made. This is what lets the next visit focus on deterioration rather than re-diagnosing the whole system.
Bring the record to your service appointment. A technician with professional-grade equipment and a history of the system sees more than one with only a clipboard, and the record is what turns a routine cleaning into a real maintenance history. That’s part of what “built to a Flagship standard” means: the goal is a system that can be tracked, not a one-time visit.
The Post-Wildfire-Smoke Check for El Paso County
Wildfire smoke doesn’t just sit on top of your filter. Fine particulate passes through or around a loaded filter and deposits inside the supply plenum, the trunk lines, and the branch runs, and that deposit is what the next heating season recirculates into your rooms. El Paso County sits downwind of several fire-prone areas, and smoke events have become a recurring part of summer on the Front Range, so a check after each event is worth doing.
After a smoke event clears, here’s the sequence we recommend:
- Change the filter immediately. Don’t wait for the calendar. A smoke-loaded filter is at the end of its life. Put the date and MERV on your record.
- Run the system for ten minutes with the filter fresh. Note any smell in the air at the registers. A lingering smoke smell can mean material has deposited deeper in the system or on the coil, not just on the filter.
- Look inside two or three supply boots with a flashlight. Smoke deposits are often a fine gray or brown film that smells when warm. Compare to your previous photos.
- Check the return grille and the filter slot. Smoke that bypassed the filter shows up here. If the slot doesn’t seal, the filter never had a fair chance.
- Call for an inspection if the smell persists. If the air still smells of smoke after a filter change and a few cycles, the material is probably in the plenum or the trunk lines. That’s the place a professional cleaning pays off.
As for the filter MERV rating, the sweet spot for smoke protection in most Colorado Springs homes is higher than a basic spun-fiber filter but not so high that it chokes the system. The filter section below covers how to pick one against the airflow limits of local ductwork.
If you’ve had smoke exposure or suspect deposit deeper in the system, our team can inspect the full run and clean it with professional-grade equipment from Rotobrush and Nikro, the kind of tooling that reaches into the trunk lines. If damage turns up while we’re there, we fix it. We clean it, we check it, and we repair what we find.
Choosing a MERV Rating That Fits Your Duct System
The most common mistake we see in Colorado Springs is a homeowner who upgrades to a very-high-MERV filter expecting cleaner air and gets weaker airflow and a dirtier coil instead. A filter that’s too restrictive starves the system of air, which raises energy use, strains the blower, and can cause the coil to run cold enough to collect moisture. The right rating depends on what the ductwork was built to handle.
A practical way to think about it:
- Old, undersized ductwork: The homes with tight return paths and small branch runs do best at the lower end of the range. A modest filter that fits well and gets replaced on schedule catches a lot and keeps airflow healthy.
- Smoke-prone summers: A somewhat higher rating catches more fine particulate, which is why many Front Range homeowners step up during fire season. But only do this if the filter is the correct size and the system can pull air through it freely.
- Homes with allergy-sensitive occupants: There’s a case for a higher rating plus a well-sealed filter slot. An unsealed slot defeats even a good filter because air goes around, not through.
A general rule worth keeping in mind: a filter that visibly reduces airflow at the registers is too restrictive for that system. Feel for it the first time you install a new rating. If the airflow at a far register drops noticeably, back off to a lower rating or have the duct system checked for restrictions. This is also where familiarity with existing indoor air quality systems matters. We work alongside Honeywell and Aprilaire setups rather than around them; if you’ve got an IAQ system in place, a filter change shouldn’t undo it.
One more local point: with the dry Colorado Springs air and a long heating season, the filter has plenty of time to load. A lower-rated filter changed on schedule usually beats a high-rated one left in too long.
The Dryer Vent Is Part of the Same Checklist
A dryer vent is connected to the same house and the same habit of taking air for granted, and it’s the part of your system most likely to cause a fire. The U.S. Fire Administration links clogged dryer vents to thousands of residential fires annually. That number is the reason dryer vent cleaning belongs on this checklist, not tacked on to the end as an afterthought.
For the calendar, check your dryer vent on the same schedule as the rest of the system, at least twice a year and more often if your dryer runs daily. What you can see yourself:
- The outside vent flap. It should swing open freely when the dryer runs and close when it stops. A flap that stays stuck, or lint visible around it, means the run is clogged.
- The lint trap and the area around it. Clear the trap every load. Look behind the dryer for lint that has escaped the trap.
- The flexible connector behind the dryer. A crushed or kinked connector is a common choke point, and it’s more common in homes where the dryer got pushed back against a wall.
What you can’t easily check is the hidden run inside the wall or up through the roof, which is where most lint accumulates. That’s a job for professional equipment. Our team treats dryer vent cleaning as a dedicated safety service with its own tooling, not a throw-in at the end of a duct job. If the vent has never been cleaned or the run is long, consider it a priority.
What Deterioration Looks Like and When It Needs Repair
Cleaning is only half of maintenance. Ducts wear out, and a good checklist catches deterioration before it becomes a heating or air quality problem. In Colorado Springs homes, the signs we watch for actually show up in recognizable ways.
- Disconnected or sagging flex duct. Flexible duct that has been kinked, crushed, or pulled loose sends air into the attic or crawlspace instead of your rooms. Look for weak airflow at the far end of the house and condensation or dust around the joint.
- Loose or failed duct tape. Older cloth or standard duct tape dries out and peels off, leaving gaps at seams. Those gaps pull in dust and attic air. Foil tape or mastic is the fix.
- Damaged rigid duct or plenum. Cracks in the plenum or punctures in rigid sections let heated air escape and dust enter. These need a proper repair, not a patch of tape.
- Crushed sections in tight runs. Homes with busy furnace closets or a basement finished around the ductwork often have branch runs crushed to fit. The result is a weak register on one side of the house and no obvious cause.
- Pest entry or nesting material. Rodents and birds get into attic ductwork. Droppings or nesting material inside a duct demand a proper cleaning and repair.
This is where a single provider matters. If you find damage during a check and need to book a second company to fix it, the work usually waits and the leak keeps pulling in dust. Our team handles inspection, cleaning, and air duct repair as one service, so a problem found during a cleaning gets fixed on the same visit. Professional-grade equipment from Abatement Technologies is one example of what we use to run a thorough cleaning, and repair capability means we don’t hand you a list and leave.
Common Mistakes to Avoid
- Changing the filter on a fixed calendar and ignoring smoke events. A filter that was fine in April can be loaded by July. In Colorado Springs, the calendar matters less than the event. Track smoke dates and replace afterward.
- Upgrading to a very-high-MERV filter without checking airflow. A filter that’s too restrictive starves the system and can cool the coil too much, which collects moisture. Feel for airflow at a far register after any change.
- Skipping the return grille. The return side is where dust gets recirculated. A dirty grille or an unsealed filter slot undermines the whole system, however good your supply filter is.
- Believing a coupon price is the whole job. The bait-and-switch reputation in this industry exists for a reason. A quoted price per vent often turns into a larger invoice once a technician is on site. A flat price per system, agreed before work starts, is the honest structure.
- Treating dryer vent cleaning as optional. The fire risk is real and tied to the amount of lint buildup. Put it on the same calendar as the duct system rather than waiting for it to cause a problem.
- Assuming flex duct in the attic is fine because the airflow feels okay. A crushed or disconnected run may still deliver some air. Weak airflow at one register, or a sudden dust puff when the system starts, is the clue to look further.
- Not documenting what’s found. Without a record and photo reference, every visit starts over. A homeowner with notes and photos gets a better diagnosis, because the technician can see change over time instead of a single snapshot.
When to Call a Professional
Call a professional when you see thick deposits inside supply boots, noticeable dust or debris at the return grille that returns after cleaning, weak airflow at several registers, a persistent smoke or musty smell after a filter change, pest droppings in an attic duct, or a crushed or disconnected flex run. Call sooner if you’ve had a smoke event, a remodel, or a pest issue in El Paso County. A whole-system cleaning every three to five years is the norm for most homes; more often if any of the above applies.
A professional cleaning is also the right time to find and fix damage. Our technicians use professional-grade systems and can repair what they find, so you’re not managing two companies. Call Flagship Air Duct Cleaning for a free estimate in Colorado Springs, and we’ll tell you what the system needs and give you one flat price per system before work starts. Call (866) 293-3740. We answer 24/7. Fast dispatch from 7am to 7pm, Sunday through Friday.
See the difference
 Before
 After
 Before
 After
 Before
 After
Frequently Asked Questions
Every three to five years is a reasonable interval for most Colorado Springs homes, with more frequent cleaning after smoke events, remodels, or pest issues. A yearly visual inspection and filter schedule keeps the gap from getting out of hand. If the last cleaning is unknown, start with an inspection and let that set the interval.
A moderate MERV rating is usually the safest starting point for older systems, since very-high-rated filters can choke undersized return paths and drop airflow. Check airflow at a far register after any change and back off if it weakens. If you’ve got an existing Honeywell or Aprilaire system, make sure the filter rating fits the setup rather than replacing it based on the label alone.
A lingering smoke smell after a filter change and a few system cycles is the clearest sign. Look inside two or three supply boots for a fine gray or brown film that smells when warm. If the deposit is there, the plenum and trunk lines need a professional cleaning rather than a filter swap.
You can check the registers, return grille, and flex duct connections with a flashlight and no tools, and you should. What you can’t check is the inside of the plenum and trunk lines, which is what professional equipment reaches. Do the visual check, document it, and bring in a technician when you see something that concerns you.
Yes. The U.S. Fire Administration links clogged dryer vents to thousands of residential fires annually, so it belongs on the same calendar. Check the outside flap and the connector behind the dryer twice a year, and have the hidden run cleaned professionally when it’s been a while since the last service.
Weak airflow often points to a crushed, disconnected, or sagging flex run rather than a clogged duct. A technician can find and fix that damage as part of a cleaning. If the dust keeps returning, also check the return grille and filter slot for a loose seal.
The Bottom Line
A good air duct maintenance checklist for Colorado Springs is a calendar, not a filter reminder. Inspect registers, the return grille, and flex connections with a flashlight. Replace the filter on a 60-to-90-day cycle and immediately after any smoke event. Photograph and note what you see so a technician can track change over time. Keep the dryer vent on the same schedule. And when a professional cleaning is due, work with a team that uses professional-grade equipment and can repair what it finds, so the cleanup and the fix happen in one visit.
Ready to put a real maintenance plan in place? Flagship Air Duct Cleaning provides air duct cleaning, dryer vent cleaning, and air duct repair across Colorado Springs. Call (866) 293-3740 for a free estimate. We answer 24/7. Fast dispatch from 7am to 7pm, Sunday through Friday.
Written by the team at Flagship Air Duct Cleaning.